On this page
Processing and organizing tickets
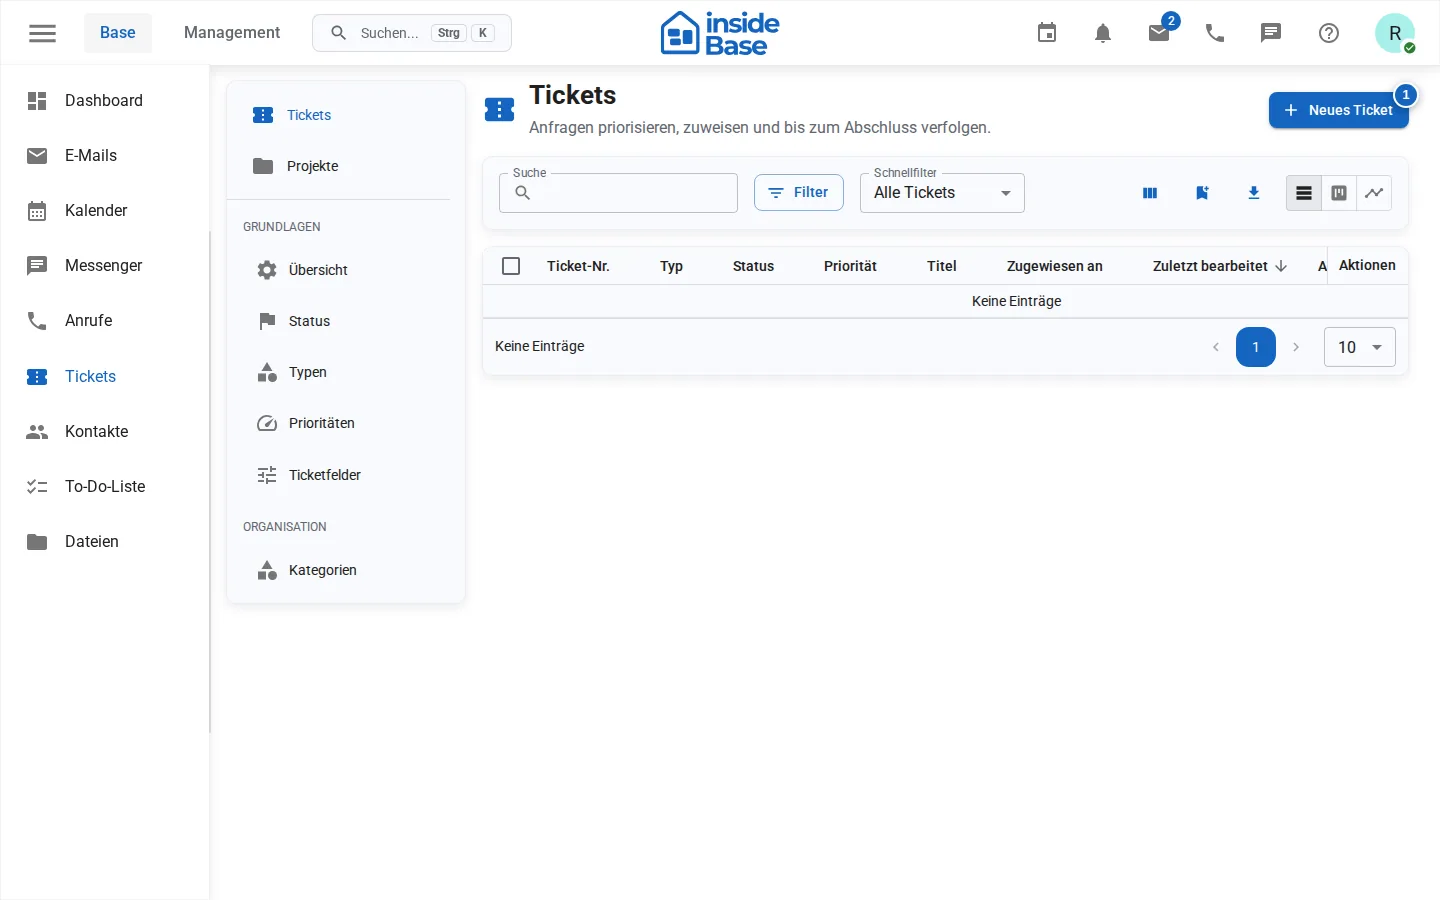
Tickets organize structured requests and work. Projects group related tickets.
Where to find it
Open Tickets or Tickets → Projects.
Requirements and permissions
Reading requires tickets.read; creating and editing requires tickets.write. Individual fields may have additional visibility rules.
Step by step
Process tickets
- Open Tickets and select New Ticket.
- Capture a clear title and comprehensible description.
- Select a status and type; optionally add priority, due date, assignee, watchers, progress, and effort.
- Add additional fields and save.
In the ticket, comments can be added and the linked records can be opened directly.
List and board
The list view provides search, configurable columns, and filters by status, type, priority, assignment, and date ranges. In Board View, group by status, assignment, priority, or type and move tickets between columns.
Board quick actions can assign the ticket to you, set today's due date, or mark it as complete. After moving a card, check the confirmation because the grouped value changes immediately.
Ticket projects organize
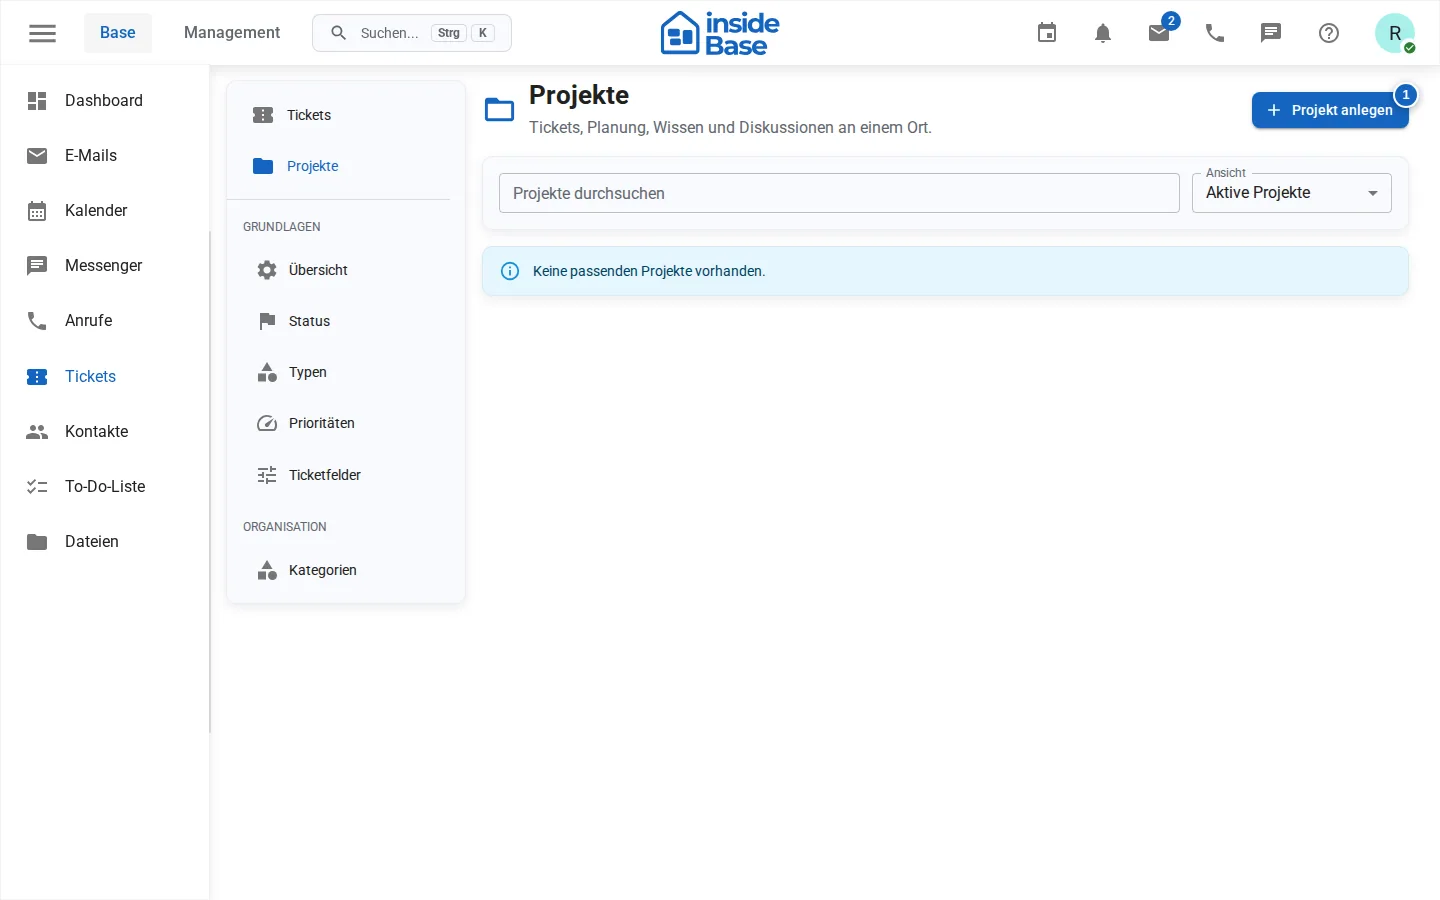
- Open Tickets → Projects. Search for the project and check whether you are viewing active or archived projects.
- To create a project, choose New project. Enter its name and identifier, add a description and optionally a parent project. The identifier becomes part of the URL and cannot be changed later.
- Decide whether all workspace members may see the project and select the required modules. Save and open the project card.
- In Overview, review open, completed and overdue tickets and recent activity. Use New ticket if your role permits creating a ticket in the project.
Use the wiki
- Open the project's Wiki tab if the module is enabled.
- Select a page or choose New page if you have write access.
- Enter the title, optional slug, Markdown content and a change note. An empty slug is generated from the title.
- Save and check the content and revision number. History shows earlier revisions; inspect the selected revision before restoring it.
Read time reports
Open Time & reports if the time module is enabled. It shows tickets by status and priority and recorded time by activity. These reports summarize existing entries; an empty report does not create a time entry.
Settings, members and milestones
- Open Settings with project-manager or administrator access.
- Edit the name, description, start and due dates. Check visibility and enabled modules before saving.
- Select a user and role in the members section and add them. Managers manage the project, Members edit tickets and wiki pages, and Reporters create and comment on tickets. Applicable global permissions are still required.
- Maintain project categories with a name and optional default assignee. If planning is enabled, create or edit milestones with a description, due date and status.
- Archive a completed project when further work is no longer intended. Ticket, wiki and membership changes become read-only; authorized managers can change archive status in project settings.
A public project is visible within the workspace, not freely on the internet. Visibility without a membership role generally provides read access only. The role displayed in the project header helps explain missing actions.
Result
Ticket and project view show the current status and the responsible persons.
Variations and special cases
Drag-and-drop on the board changes the grouped value immediately. Quick actions can directly set the due date, assignee, or completion status.
Troubleshooting
Check active filters, project access, write permissions, and required fields. Reload the board if a move is not visible.